

How to fix File Explorer not updating automatically in Windows?
Question
Problem: How to fix File Explorer not updating automatically on Windows?
Hello. When I try to create a new folder in File Explorer, I can’t see it. I think it’s no longer updating automatically. What should I do?
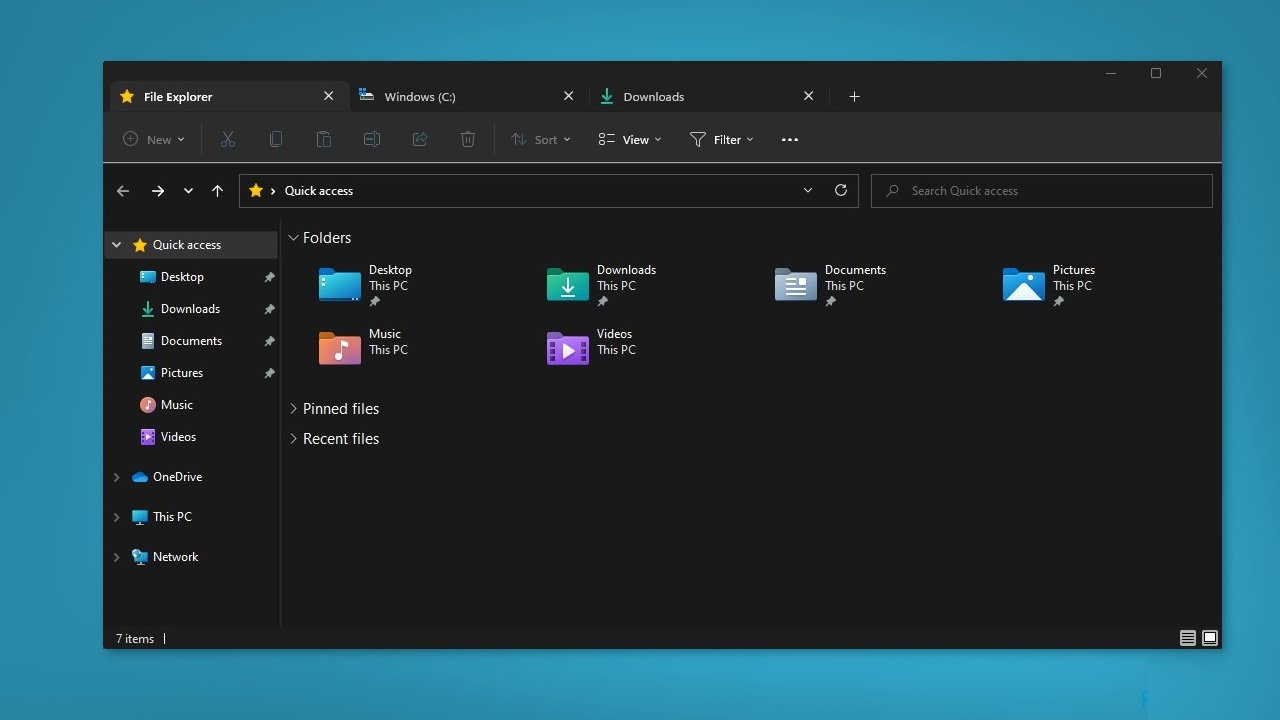
File Explorer is a file management tool built into Windows that allows users to browse and manage files and folders stored on their computer’s hard drive or external storage devices. Users can use it to browse through files, copy, move, and delete them, create new folders, and manage their properties.
A common problem that users may encounter when using File Explorer is that it doesn’t update automatically. As a result, when users add, delete, or modify files and folders, the changes may not be immediately reflected in File Explorer. To see this updated information, users need to manually refresh the window by pressing the F5 key or clicking on the refresh icon.

How to fix File Explorer not updating automatically in Windows?
The issue of File Explorer not updating automatically can have a large number of implications for users. It can cause confusion and frustration for users who are unable to see up-to-date information, resulting in file management errors. Users can, for example, delete a file they thought was already deleted, or they can copy or move the wrong file or folder to a different location.
There are several possible solutions to the File Explorer not updating automatically. Automatically updating the window by pressing the F5 key or clicking on the refresh icon is an option. Another option is to enable the “Automatically expand current folder” option in the Folder Options menu, which allows File Explorer to automatically refresh the view when a new folder is opened. Clearing the File Explorer history, disabling Quick Access, and restarting the File Explorer cache can also help resolve this issue.
In this guide, you’ll find 6 steps that should help you fix File Explorer not updating automatically on Windows. If you want to try an automatic solution, you can try a repair tool like Fortect. This tool can fix most system errors, blue screens, corrupted files, registry issues, or clear cache and cookies. Otherwise, follow the step-by-step instructions below.
Solution 1. Restart your PC
Restarting your PC can fix any boot issues that may cause Windows auto-update issues or other issues that may affect your computer.
- Click on Start
- Select Off from the drop-down menu
- Click Restart to restart your PC
Solution 2. Install Windows Updates
- Press Windows + R keys to open the Run box
- Type ms-settings:windowsupdate in the text box and press Enter
- Click on the Check for Updates button
- If a new update is available, click the Download and Install All button.
- Restart your computer once the process is complete and check if the issue is resolved
Solution 3. Update drivers
Outdated drivers can be the cause of this problem. In this case, you can fix it automatically using DriverFix, which will check your PC for outdated drivers. You can also update them manually:
- Open Settings
- Click on Updates & Security
- Click on Windows Update
- Click on the Check for Updates button
- Click on the option to View Optional Updates
- Click on the Update Drivers tab
- Select the driver you want to update
- Click the Download & Install button
If the View optional updates link isn’t available after checking for updates, then Windows Update doesn’t have any drivers or new updates for other products at this time.
Solution 4. Clear File Explorer History
- Open File Explorer and click on the three horizontal dots
- From the list, click Options
- Go to the General tab and click on Privacy
- Tap Clear
- Tap OK to confirm the action
Solution 5. Run the netsh and winsock reboot
- Click Start and type cmd in the search bar
- Right-click on Command Prompt
- Select Run as administrator
- Type the following commands and press Enter after each of them:
netsh
Winsock
reset
Solution 6. Create a new User Profile
- Press Windows + X to open the Quick Menu
- Select File Explorer from the list
- Click on the View tab
- Click on Options in the top right corner of the screen
- Click on the View option
- Select Show hidden files, folders, and drivers
- Uncheck the box for the Hide files protected by the operating system option
- Click Yes to confirm the action
- Click OK
- Navigate to the following folder: C: UsersOld_Username folder
- Click on the profile Antiguo_Usuario
- Select all the files and folders in the Antiguo_Usuario folder (except Ntuser.dat, Ntuser.dat.log, and Ntuser.ini).
- Press Ctrl + C to copy the selected folders
- Navigate to folder: C:NuevoUsuario_Usuario
- Click on Nuevo_Usuario
- Press Ctrl + V to paste the files you’ve copied
- Restart your PC
- Log in with your default profile